 |
||
A couple of people have asked if we sell the portable boards we use for foot percussion. They're so ridiculously easy to make that it never occurred to us to sell them. We'll share our method for making them here and if someone still wants to buy one, let us know and we'll talk. |
||
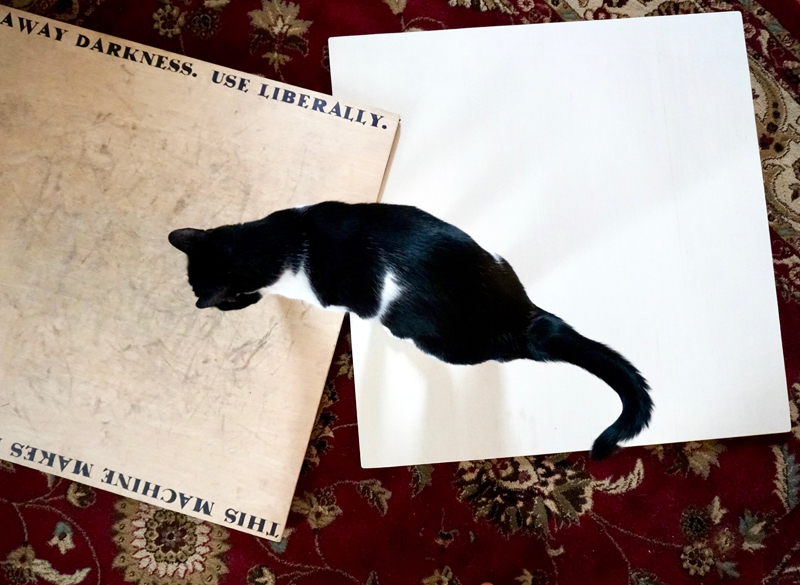
Start with a smooth piece of 1/2" or 3/4" plywood. Ideally one side is birch or some kind of hardwood veneer. Some stores sell pre-cut "project pieces" that may be about 2' x 2' square. Those are great for seated foot percussion, but if you're clogging and tend to move around a bit, you're going to want something a little bigger. We ended up buying a 4 x 8 piece of 1/2" birch ply at the local lumberyard/home improvement store and had them cut it into three 2'-6" squares (They will do that for you for free.). It's smooth birch veneer on one side and primed white on the back side. You will want the unpainted side to be your dance surface. If you use an unprimed board, just use the nicest side for your dance surface. Make sure you sand all around the edges to get rid of splinters. |
This shows the (well-used) front and primed back. |
|
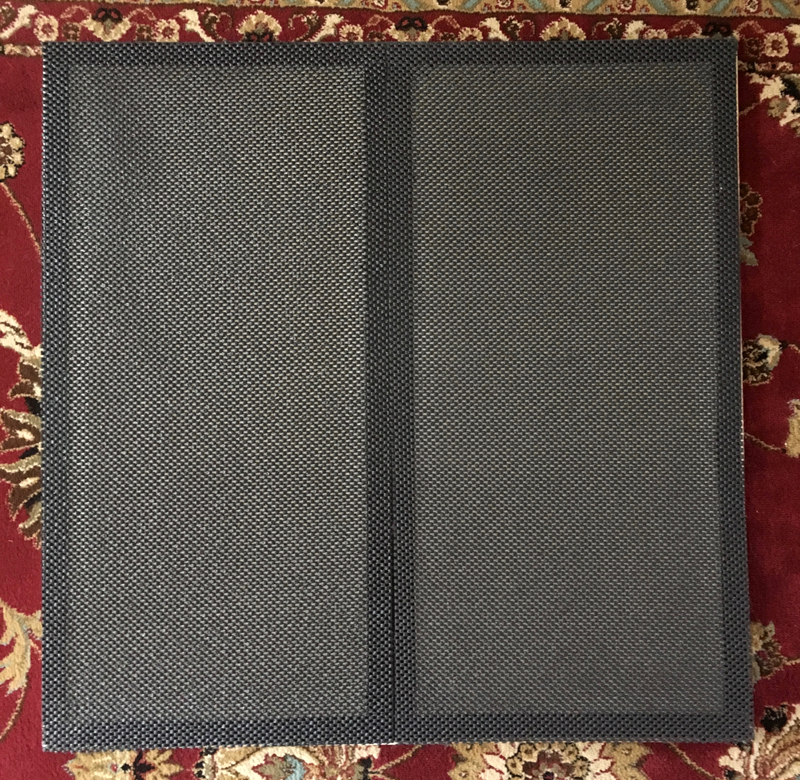
You could just use the board like this, but they tend to creep and slide around. Also people who have super nice floors get nervous when the boards and tap shoes come out. We started putting grippy shelf liner on the back to protect those floors and stop board-creep. If you're using it on the street, one tiny pebble can set the whole board rocking, but the cushiony pad can absorb the difference and keep it level. We adhered the grippy shelf liner with Extremely Strong Mounting Tape. Don't scrimp on the tape - get the good stuff. (I tried spray adhesive, but it doesn't stick well to the rubbery backing and we ended up redoing it with the Extremely Strong Mounting Tape.) Cut the self liner slightly larger than your board, and cut off excess with a razor blade or utility knife after it's stuck on. If you're using two pieces (like we did here) mark a center line and butt the straightest edges first along that line - don't overlap or your board won't sit flat! |
 |
|
| This is the Extremely Strong Mounting Tape | 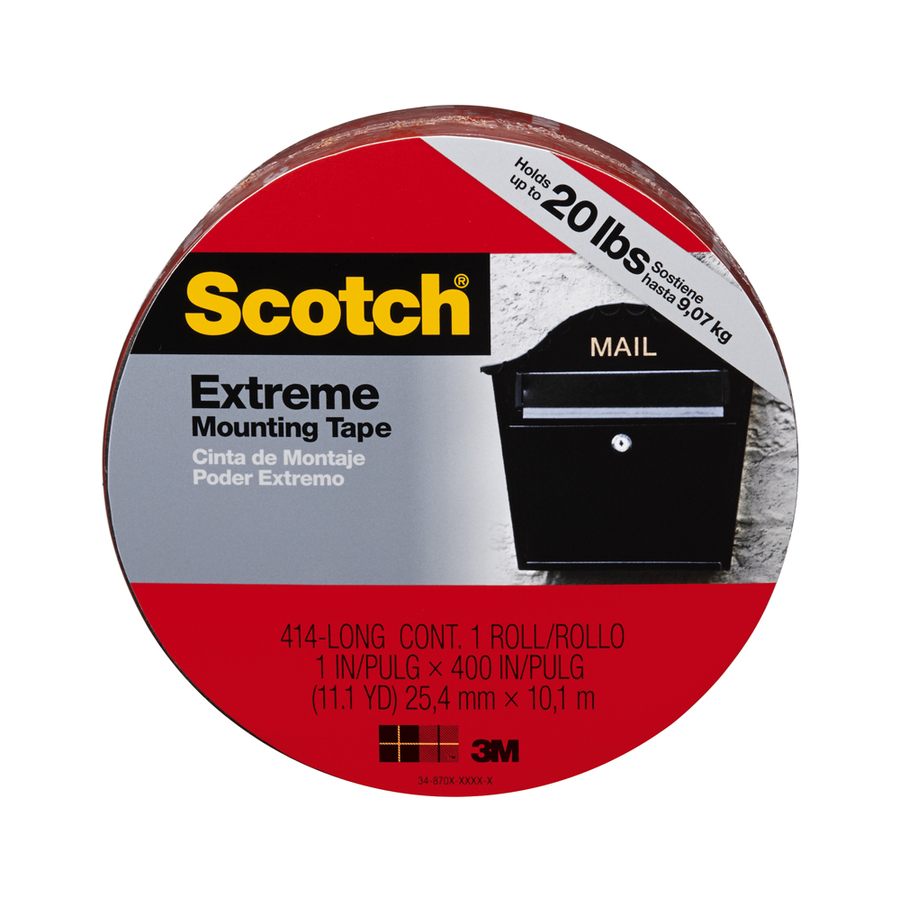 |
|
| And the grippy shelf liner. |  |
|
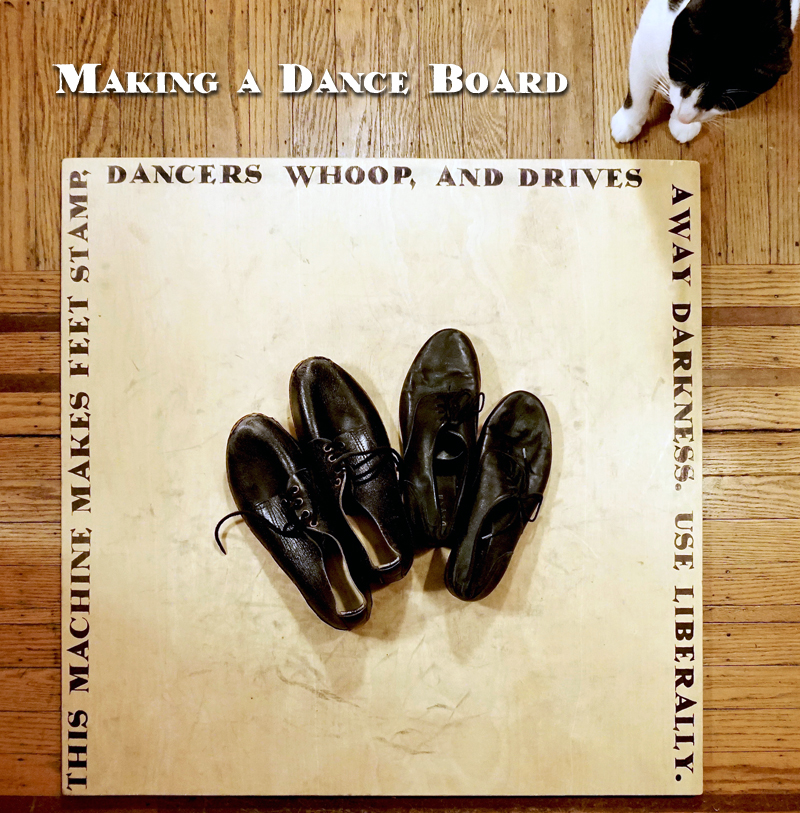
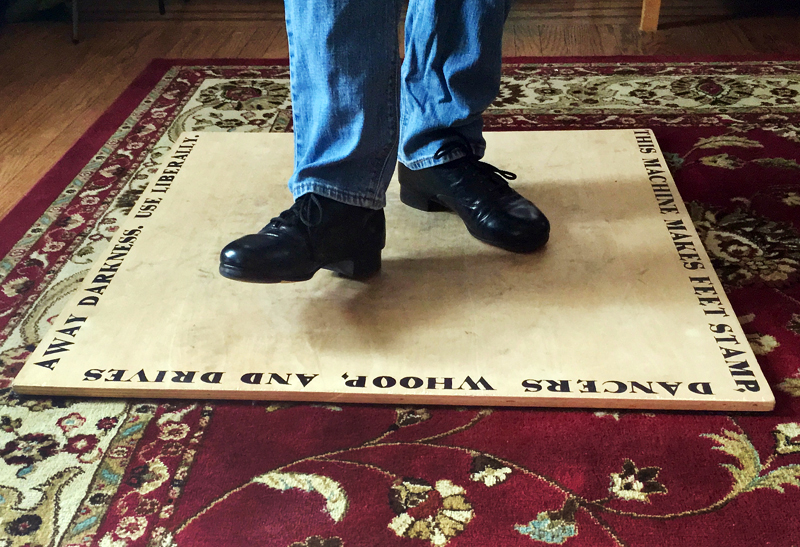
This weekend we got inspired to decorate our boards à la Woody Guthrie and Pete Seeger. We made a stencil for the lettering out of cardstock (we're fortunate to have a cutting machine to do the hard cutting for us) and inked it in with permanent markers. And that's all there is to it!
Happy Dancing! |
 |
|